Firmware Update Guide
Firmware update guide
Please note if you are incapable or uncomfortable doing this update please contact your installer for further assistance
This guide will run through the two methods of updating the software both via the remote online portal and the local method.
Remote online firmware updates
The first method to try is the remote update, this will attempt to update both inverter and batteries.
Log onto the online GivEnergy portal and sign in with your username/password - https://www.givenergy.cloud

When signed in, go to my inverter on the side bar
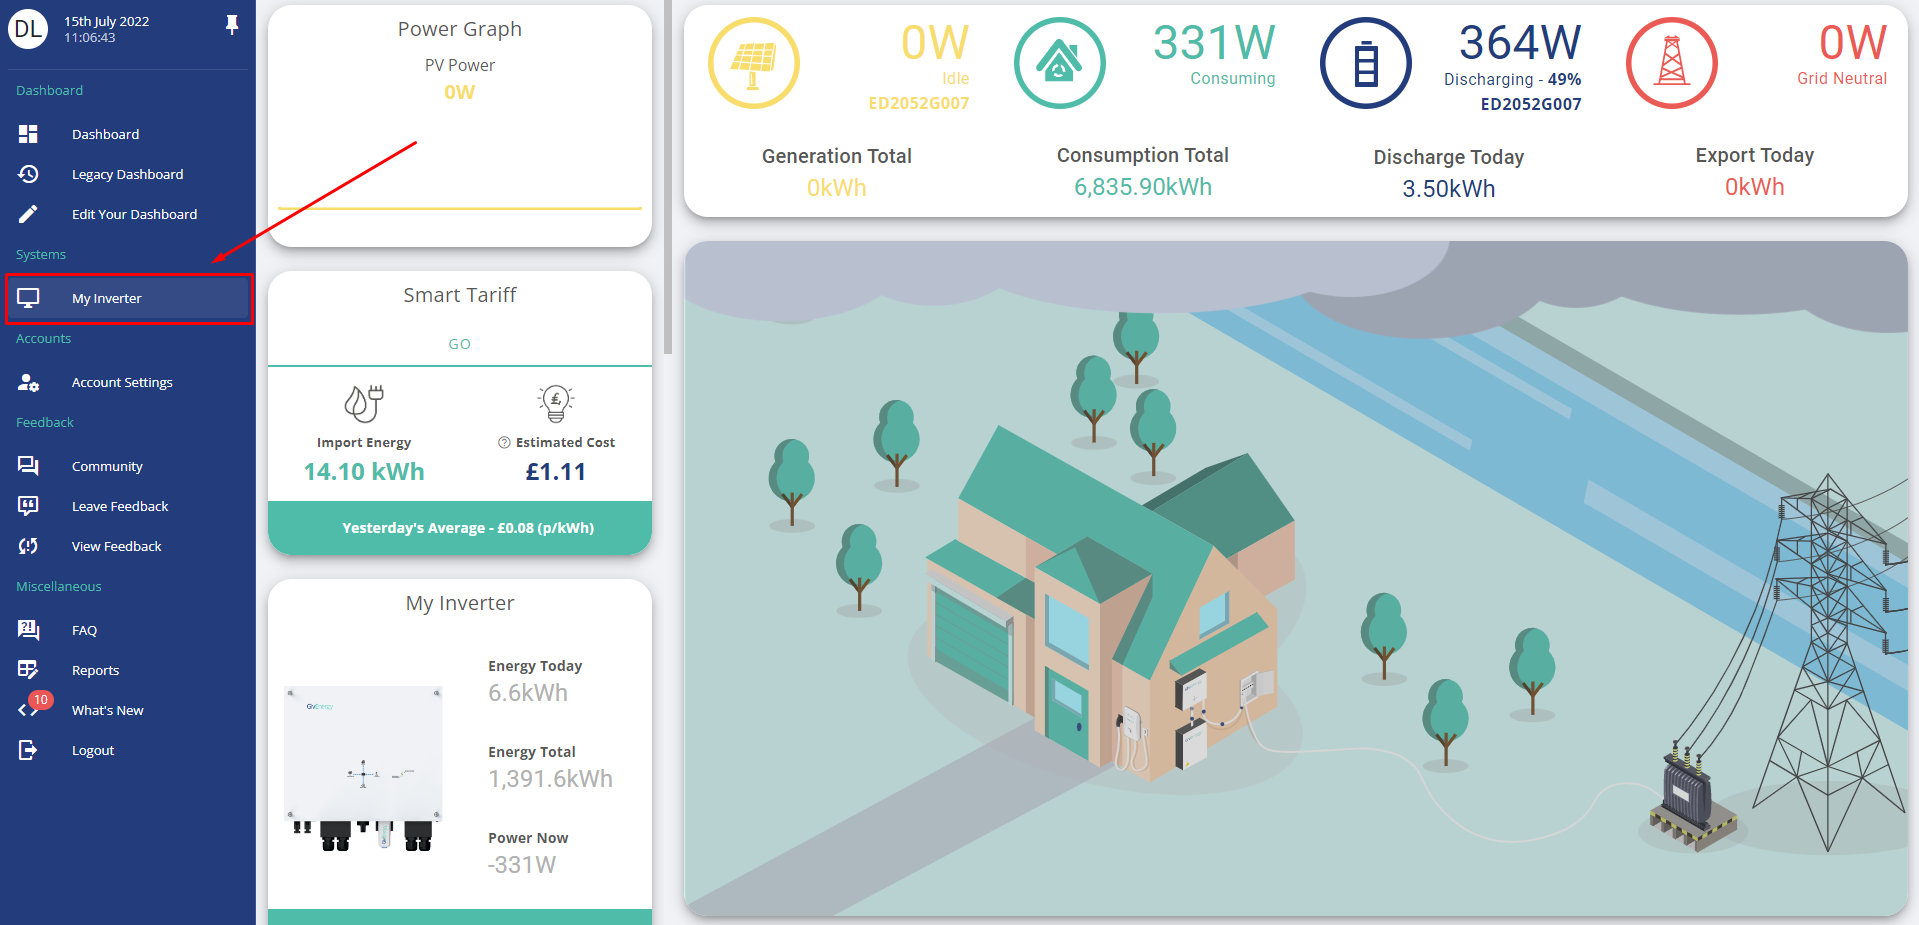
In the my inverter section, please go to software
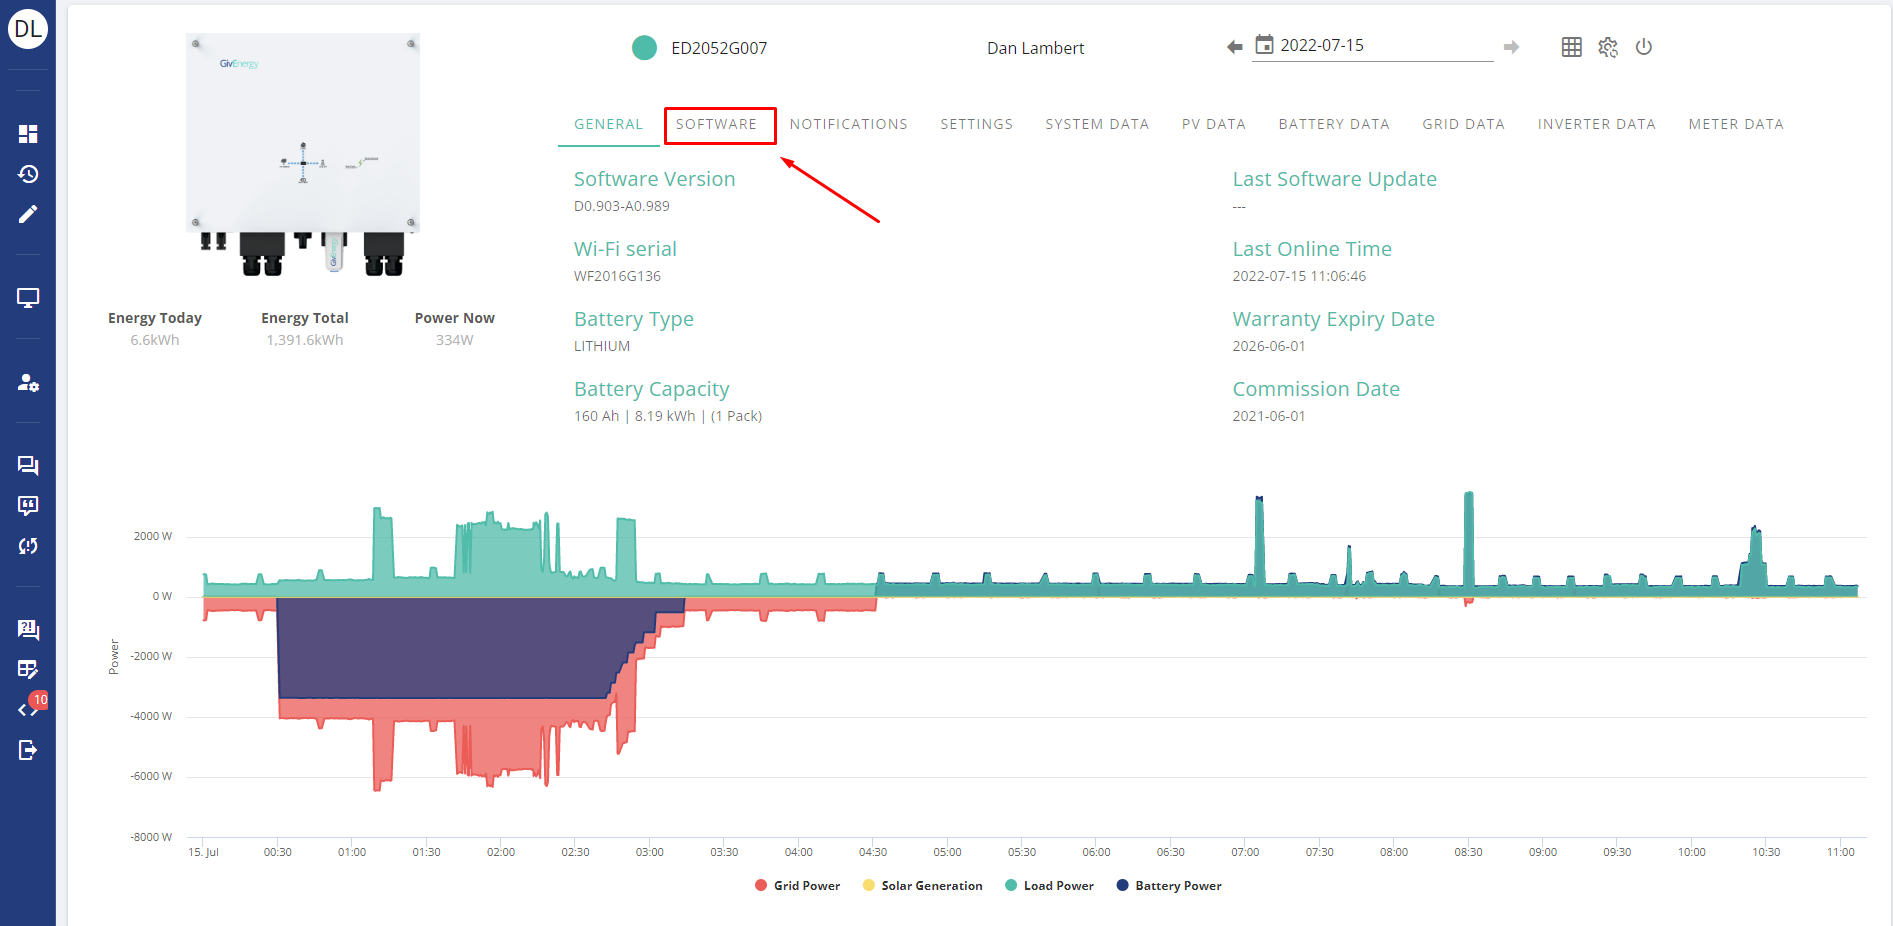
If your inverter is running the latest firmware, no option for updates will be available as per the below
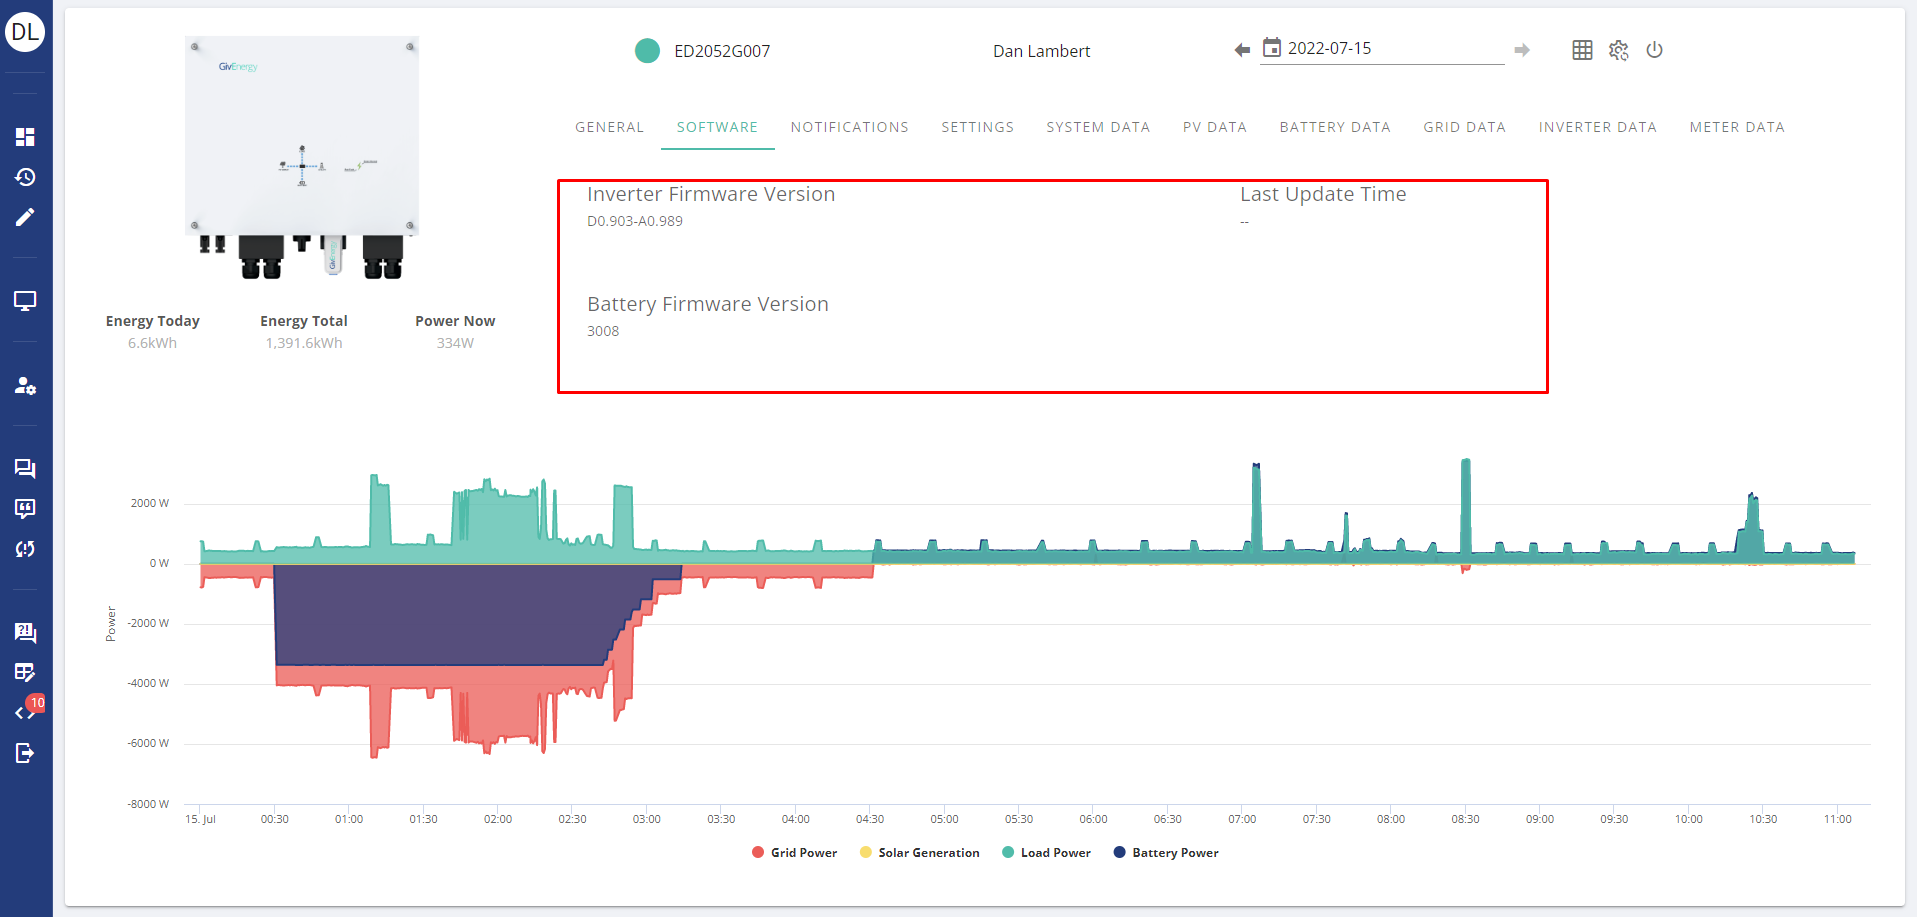
If an update is available, please press update as per the below
This will now take 5-30 minutes to update, please do not turn the system off during this. If after 1 hour the system is still saying updating, please restart the inverter.
If you have any issues, please contact support on support@givenergy.co.uk
Local firmware updates - Inverter
This section of the guide will run through a local firmware update if in the event a remote firmware update has not worked or you have issues.
Please note you will need to contact GivEnergy support on support@givenergy.co.uk for the relevant files for a local firmware update if the above has not worked, and if unable or unwilling please contact your installer.
----------------------------------------------------------------------------------------------------------------------------------
First step For GEN2 inverters ONLY
First of all you must first locate the DIP switches underneath the inverter and switch them all to down, and use any blank USB stick into the USB port as this will not come provided, and then follow the rest of the steps, note that you do not need the "MSN.TXT file" on the Gen 2 setup.
Continue to follow the below (skipping the next step)
----------------------------------------------------------------------------------------------------------------------------------
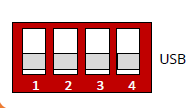
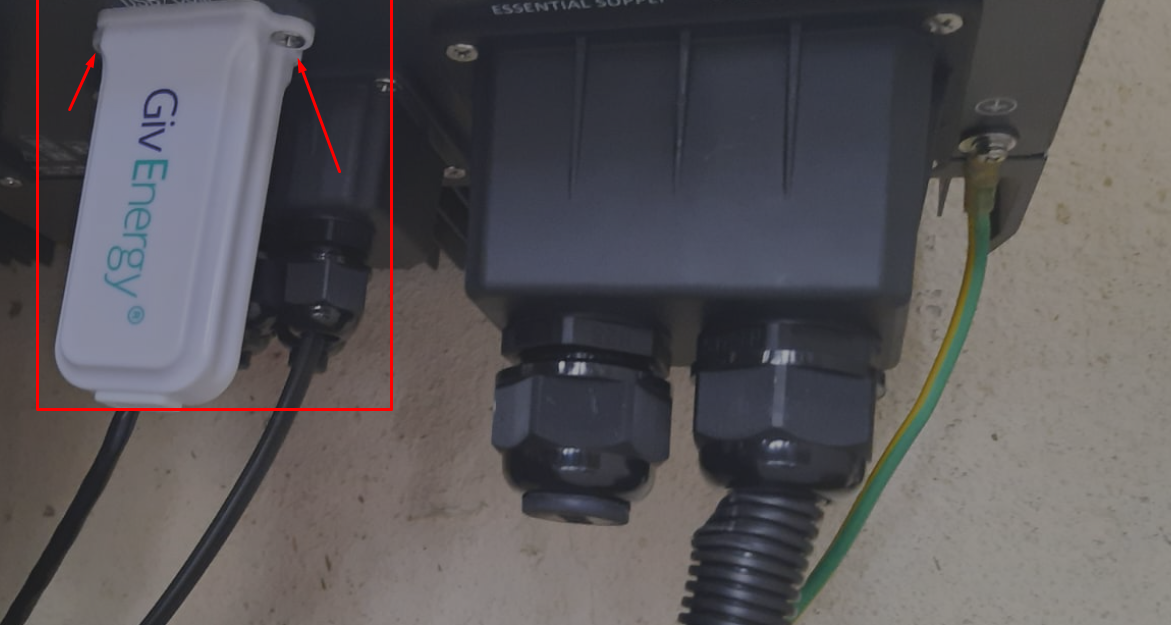
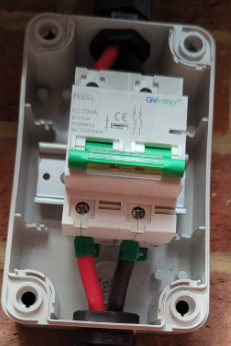
Remove the WIFI dongle (SKIP is Gen 2) via the 2 screws underneath
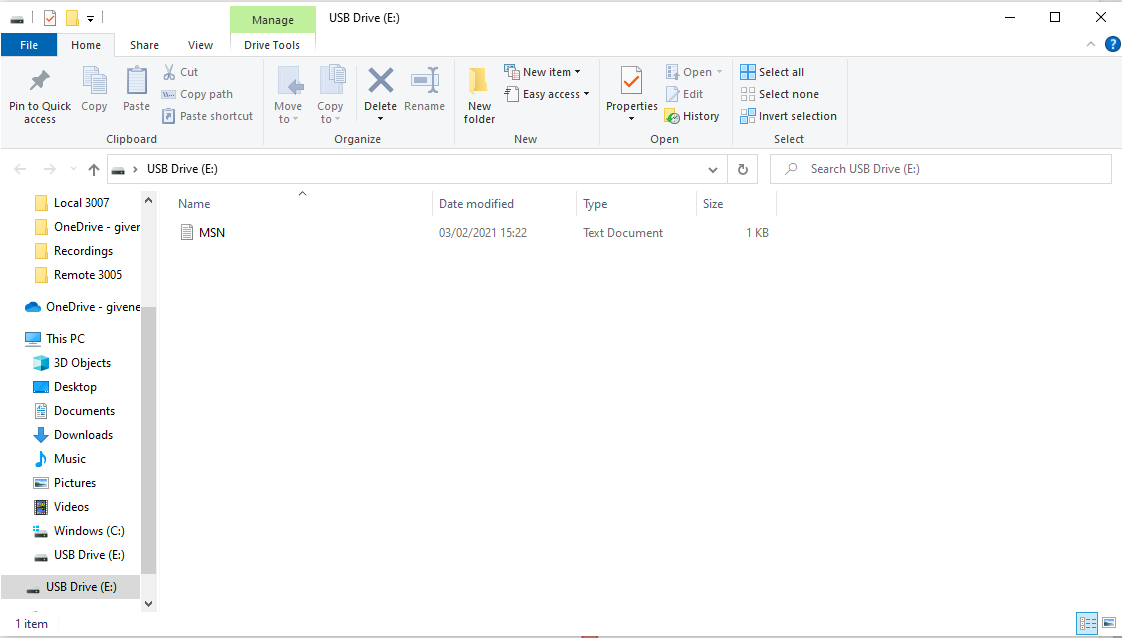
Plug this into your PC/Laptop and you will see a file named MSN.
Keep the file MSN but DELETE any OTHER files on the USB
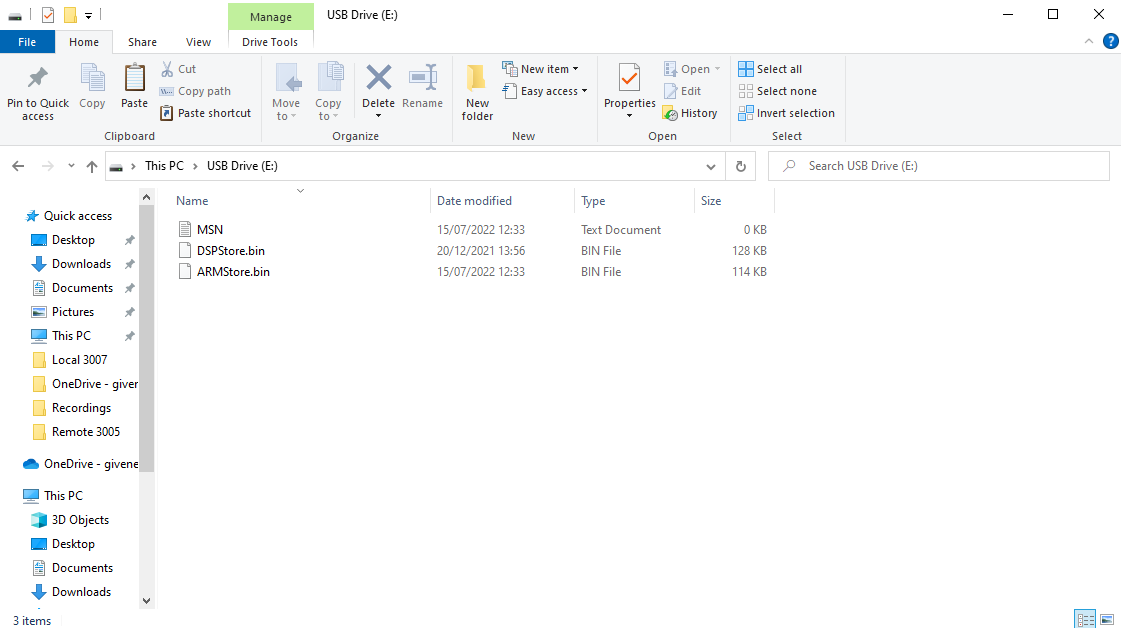
Please then place the two files given by GivEnergy onto the dongle ensure they retain the name ARMStore.bin and DSPStore.bin
Plug this back into the inverter and screw the dongle back in - it may now take 20 minutes to update. If you have any issues please contact support.
Local firmware updates - Battery
This section of the guide will run through a local firmware update if in the event a remote firmware update has not worked or you have issues.
Please note you will need to contact GivEnergy support on support@givenergy.co.uk for the relevant files for a local firmware update if the above has not worked, and if unable or unwilling please contact your installer.
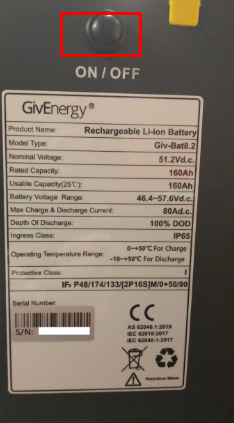
First of all please isolate the DC MCB switch, this will be a green or red handled switch in-between the inverter and battery. Please place this into the down position.
Leave this in the down position, and turn the battery off on the black button on the right hand side
Please now leave the system turned off for 1 hour.
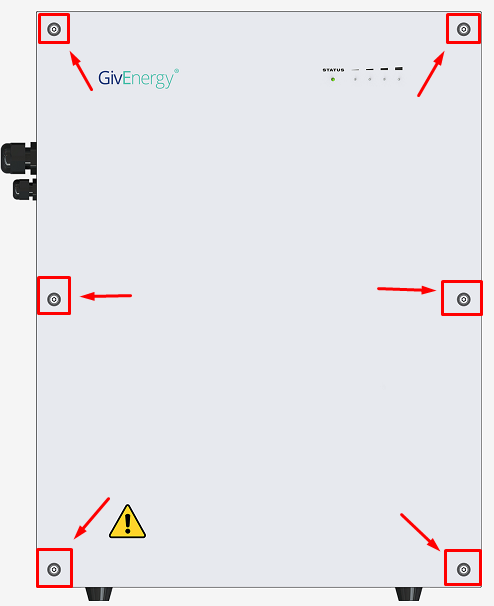
After the system has remained off for this period, please remove the screws on the front of the battery with a 5mm allen key
Once the front is open, you will see the BMS and a silver USB plugged in, please carefully remove this from its USB port.
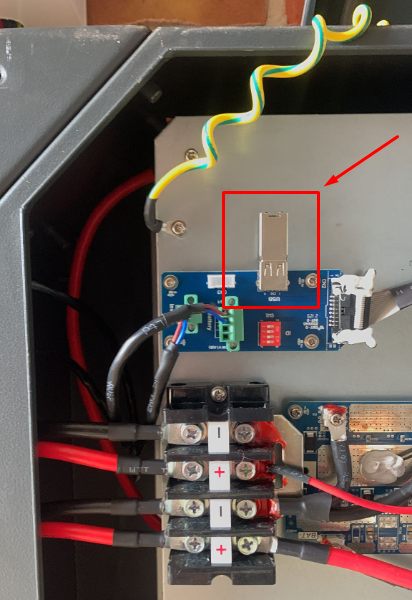
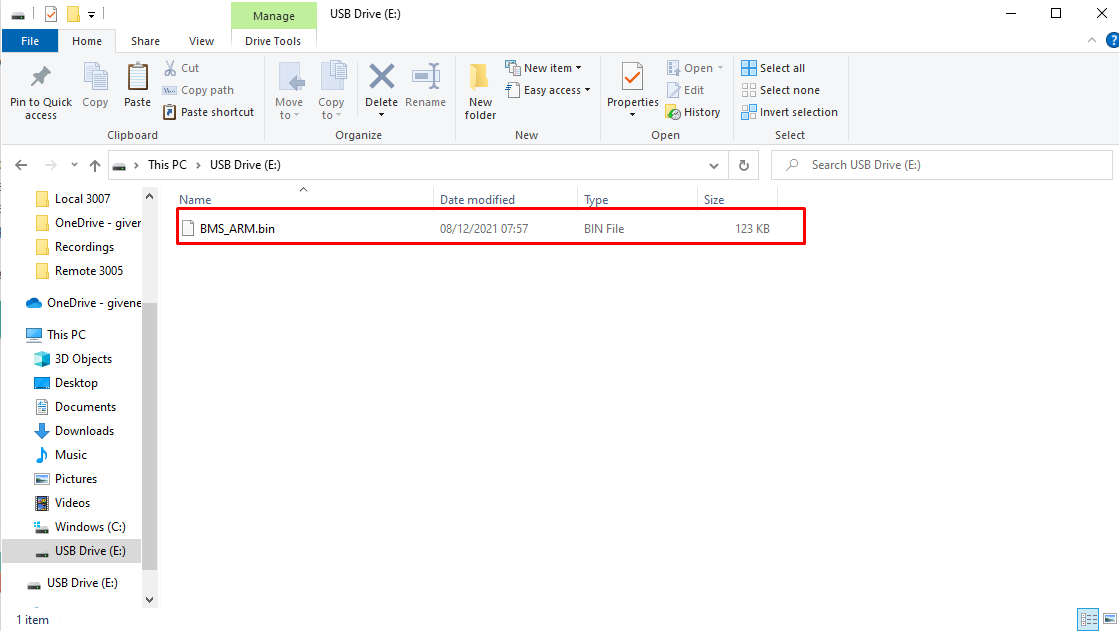
Once removed, plug this into your PC/laptop and the drive should open as such below, if any files exist on there please DELETE them
Add on the files given by GivEnergy, ensure the file name is - BMS_ARM.bin
If this file name is any different, please rename it to the above.
Remove the USB from your PC, plug this back into the battery and turn it on with the side button, you should hear a loud BEEP to indicate its updated.
Put the front cover back on the battery, and turn the isolator switch back ON to the UP position
Please email GivEnergy back once this is done to verify and calibrate the battery.
Related Articles
GivEnergy Firmware Update Guide
Changelog & Latest Software For a list of up-to-date firmware and changelog, please see: Firmware Files Remote Online Firmware Updates The first method to try is the remote update; this will attempt to update both inverter and batteries. Log onto the ...How To Update The WiFi Dongle Chipset Firmware
This guide explains how to update the HF21 / HFA21 WiFi Dongle chipset used in some GivEnergy systems. Updating the chipset improves WiFi stability with newer routers. The update requires connecting to the dongle’s local hotspot and uploading two ...AECC Dongle Setup Guide
This guide explains how to set up the GivEnergy AECC Multi-Connect Dongle, used on All in One 2, Gateway 2, and Gen 4 inverters. The dongle supports LAN, WiFi, Bluetooth, and 4G fallback and must be configured before your system can come online. ...GivEnergy EV Charger Troubleshooting Guide
Contents Introduction Objectives Troubleshooting Common Issues and Symptoms Safety and Visual Checks Network Checks (Wi-Fi & LAN) Charger Configuration Check Charger Configuration Types Additional Troubleshooting Tips for Customers EV Charger Fault ...GivEnergy App Guide
The GivEnergy app gives you real-time visibility of your battery, solar, and grid usage, as well as tools to control charging, discharging, and tariffs. Used correctly, it can help reduce energy costs, improve self-consumption, and increase ...